

关注 3
粉丝 32
Andrea
沈阳
+
关注
已关注
+
关注
花园里是空的哦~
还没有添加花。
动态 (11)


Andrea
2017年02月17日
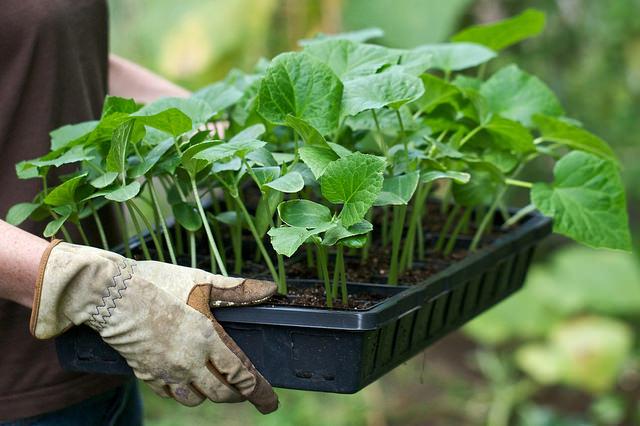
If you want a great #vegetable #garden you need to use raised garden beds. Raised beds are great for growing healthy, productive vegetables and flowers and they’re easy to make.
Making a raised bed is a simple bit of carpentry that anyone should be able to do. The easiest way to buy some 2×12 lumber and screw them together in the shape of a rectangle. You can make them as long as you like but you should limit the width to 3 or 4 feet so you can easily reach in the bed to plant seeds, pull weeds or to harvest crops.
The next question you’re probably asking is what kind of wood do I use to build raised beds. The whole pressure treated vs. non issue is a complicated one. Does pressure treated wood leach chemicals into the soil? Well the answers are yes and maybe.

The old pressure treated lumber (CCA) is preserved with a process that uses arsenic. Obviously you don’t want arsenic anywhere near something you’re going to eat even in the small amounts that might be present in a raised bed vegetable garden. CCA wood isn’t too readily available anymore so you probably don’t have to worry about coming across it. The new improved pressure treated wood (ACQ) replace CCA pressure treated wood a few years ago. The lumber industry says it safer to handle and use but guess what? It eats through normal galvanized screws and fasteners. You have to use stainless steel screws with ACQ wood. I’m not an expert with lumber or chemicals but that sounds like something that shouldn’t be near my vegetables. I think I’ll avoid all pressure treated wood until some long term studies are done. Naturally rot resistant woods like cedar and redwood are great for building raised beds. But cedar and redwood are expensive. You could also use regular non-pressure treated lumber but just be aware that the wood will probably rot in a few years. It’s inexpensive enough that it shouldn’t be an issue. If you plan on growing vegetables or flowers in your yard this year, why not try growing them in raised garden beds.
The old pressure treated lumber (CCA) is preserved with a process that uses arsenic. Obviously you don’t want arsenic anywhere near something you’re going to eat even in the small amounts that might be present in a raised bed vegetable garden. CCA wood isn’t too readily available anymore so you probably don’t have to worry about coming across it. The new improved pressure treated wood (ACQ) replace CCA pressure treated wood a few years ago. The lumber industry says it safer to handle and use but guess what? It eats through normal galvanized screws and fasteners. You have to use stainless steel screws with ACQ wood. I’m not an expert with lumber or chemicals but that sounds like something that shouldn’t be near my vegetables. I think I’ll avoid all pressure treated wood until some long term studies are done. Naturally rot resistant woods like cedar and redwood are great for building raised beds. But cedar and redwood are expensive. You could also use regular non-pressure treated lumber but just be aware that the wood will probably rot in a few years. It’s inexpensive enough that it shouldn’t be an issue. If you plan on growing vegetables or flowers in your yard this year, why not try growing them in raised garden beds.
文章
Andrea
2017年02月17日
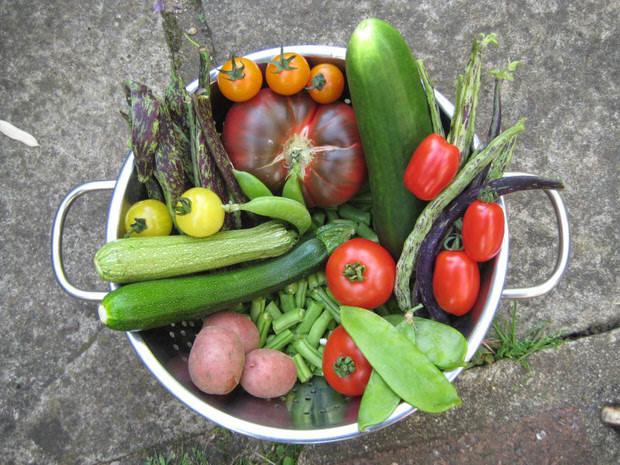
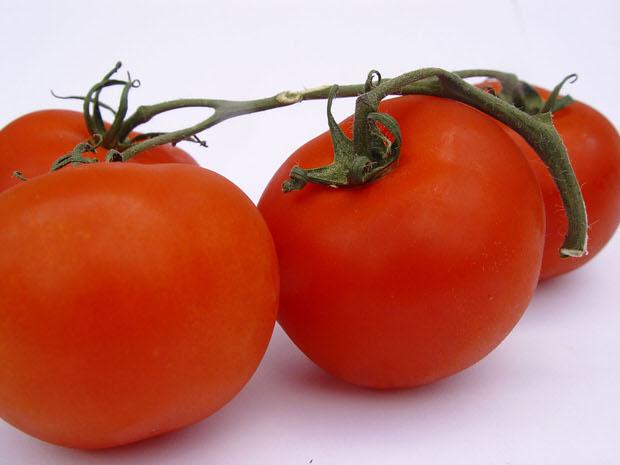
Tomatoes are without a doubt one of the most popular vegetables in the home garden, and for good reason. Homegrown tomatoes are very nutritious and much more flavorful than those bought from a store. Tomato plants will produce an abundance of fruit for the home gardener if they are properly planted and cared for.
#Tomato require a fairly long growing season, and for this reason the seeds are typically planted indoors about six to eight weeks before they can be planted in the garden. The seeds can be sown 1/4″ deep in small pots or flats in a soil less potting mix or sterilized potting soil. It takes 7-14 days at a temperature of 70-80 degrees Fahrenheit for the seeds to germinate. Keep the soil moist but not soggy. Placing plastic wrap loosely over the pots or flats will help maintain the humidity necessary for germination, but the plastic wrap must be removed once the seedlings sprout.
Bottom heat helps to speed the germination process. Garden centers and catalogs sell heating cables made just for this purpose, but you may also set the pots or flats on top of your water heater to take advantage of its warmth for germination.
As soon as the seedlings emerge, they should be moved to an area with full light, such as a sunny window or under grow lights. They should have light on them for about 12 hours a day and should be kept at a temperature of 70-80 degrees. Fertilize the seedlings with a water-soluble fertilizer when they’re about 3-4 weeks old, but dilute the fertilizer to about half the strength recommended on the label. The little tomato plants will be accustomed to fairly steady and warm temperatures indoors, and planting them directly outside could come as quite a shock to them, especially when nighttime temperatures are still cool. About a week before it’s time to plant them in the garden, begin to gradually introduce them to outdoor conditions. This is called hardening off, and it simply involves moving the plants gradually to conditions more like what they’ll experience in the garden. Start hardening them off by moving the plants to an enclosed porch for a day or two, then to a sunny spot outdoors that is protected from the wind. If the temperature threatens to take a drastic downward dip, bring the plants back indoors until it warms up outside again. Tomatoes were originally found only in very warm climates. They don’t like to be cold and should not be planted outside until the danger of frost has passed and the soil has warmed up. That’s typically late May or even early June here in northern Ohio.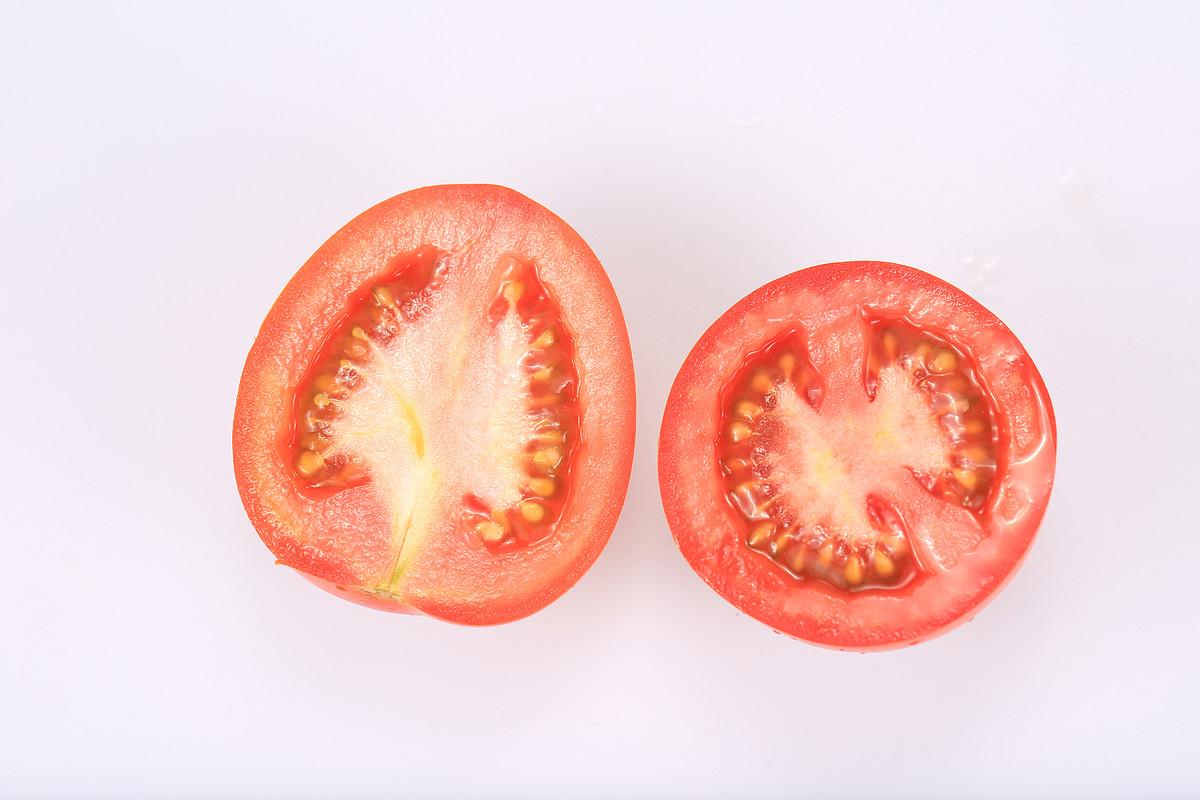
The sooner tomatoes are planted outside, the sooner they will begin to produce ripe fruit, and there are a few tricks that make it possible to plant tomatoes in the garden a bit earlier. The garden soil may be warmed up by covering it with clear or white plastic for a few days. The little tomato plants will be much happier with their roots in warm soil. Once the plants are in the garden, the foliage can be protected from a light frost by covering the plants with plastic gallon jugs that have their bottoms removed, or with plastic or fabric sheets placed over the plants. Suspend this over the plants using wire hoops so the plastic or fabric doesn’t touch the foliage. When you are ready to transplant your tomato seedlings into the garden, be sure to choose a spot for them that gets full sun for at least 8 hours a day. Dig a hole for each plant that is large enough to easily accommodate all of the roots. Before transplanting, water the plants while they are still in the pot. This not only helps prevent transplant shock, but it also makes it easier to slip the plant from the pot. Tomato plants will grow roots from any part of the stem that is buried beneath the soil, so the plants will benefit from being planted deeply, up to the first set of leaves. If the plants have spent too much time in pots and have become leggy, they may be planted in furrows with their too-long stems laid in the furrow and gently buried with soil. This will help the plants develop a strong root system while preventing the long stem from breaking. Fill in the planting hole with soil, pressing the soil in firmly to eliminate air pockets. Then give the plants a good drink of water, thoroughly soaking the soil around them.
If you plan on staking or trellising your tomato plants, they can be planted about 2-3 feet apart. Plants that will be allowed to sprawl on the ground will need more room and should be planted 4-6 feet apart. If the soil is still a bit cool, your white or clear plastic may be placed on the ground beneath the plants to warm the soil. Once warmer temperatures have settled in, this plastic should be removed to avoid burning the foliage with reflective heat. It is important to keep tomato leaves up off the soil to help prevent soil-borne diseases from attacking the plants. This can easily be done by applying straw mulch around the plants. But straw mulch should only be applied once the soil has warmed up above 70 degrees. If the mulch is laid down while the soil is still cool, it will keep the soil from warming up as it should, your tomato plants will suffer from cold feet and won’t produce as well as they could. Planting your tomatoes properly is an important step toward a bountiful harvest of sweet, juicy fruit. In another article we’ll discuss how to trellis and prune tomato plants to increase your harvest.
文章


