

关注 7
粉丝 15
Andy
美国 美国福克
+
关注
已关注
+
关注
花园里是空的哦~
还没有添加花。
动态 (33)


Andy
2016年12月26日
#air-plant #air-plant-care #tillandsia Tillandsia is a genus of around 650 species of evergreen, perennial flowering plants in the family Bromeliaceae, native to the forests, mountains and deserts of Central and South America, the southern United States and the West Indies.
Most Tillandsia species are epiphytes – i.e. they normally grow without soil while attached to other plants. Some are aerophytes or air plants, which have no roots and grow on shifting desert soil.
Light Air plants should be kept where they'll receive bright, indirect sunlight or under fluorescent home/office lighting. Periods of direct sunlight are just fine, but more than a few hours of hot sun will deplete the plants of their moisture. If your plant will be in a spot with some pretty direct light, try misting them every couple of days to keep them hydrated.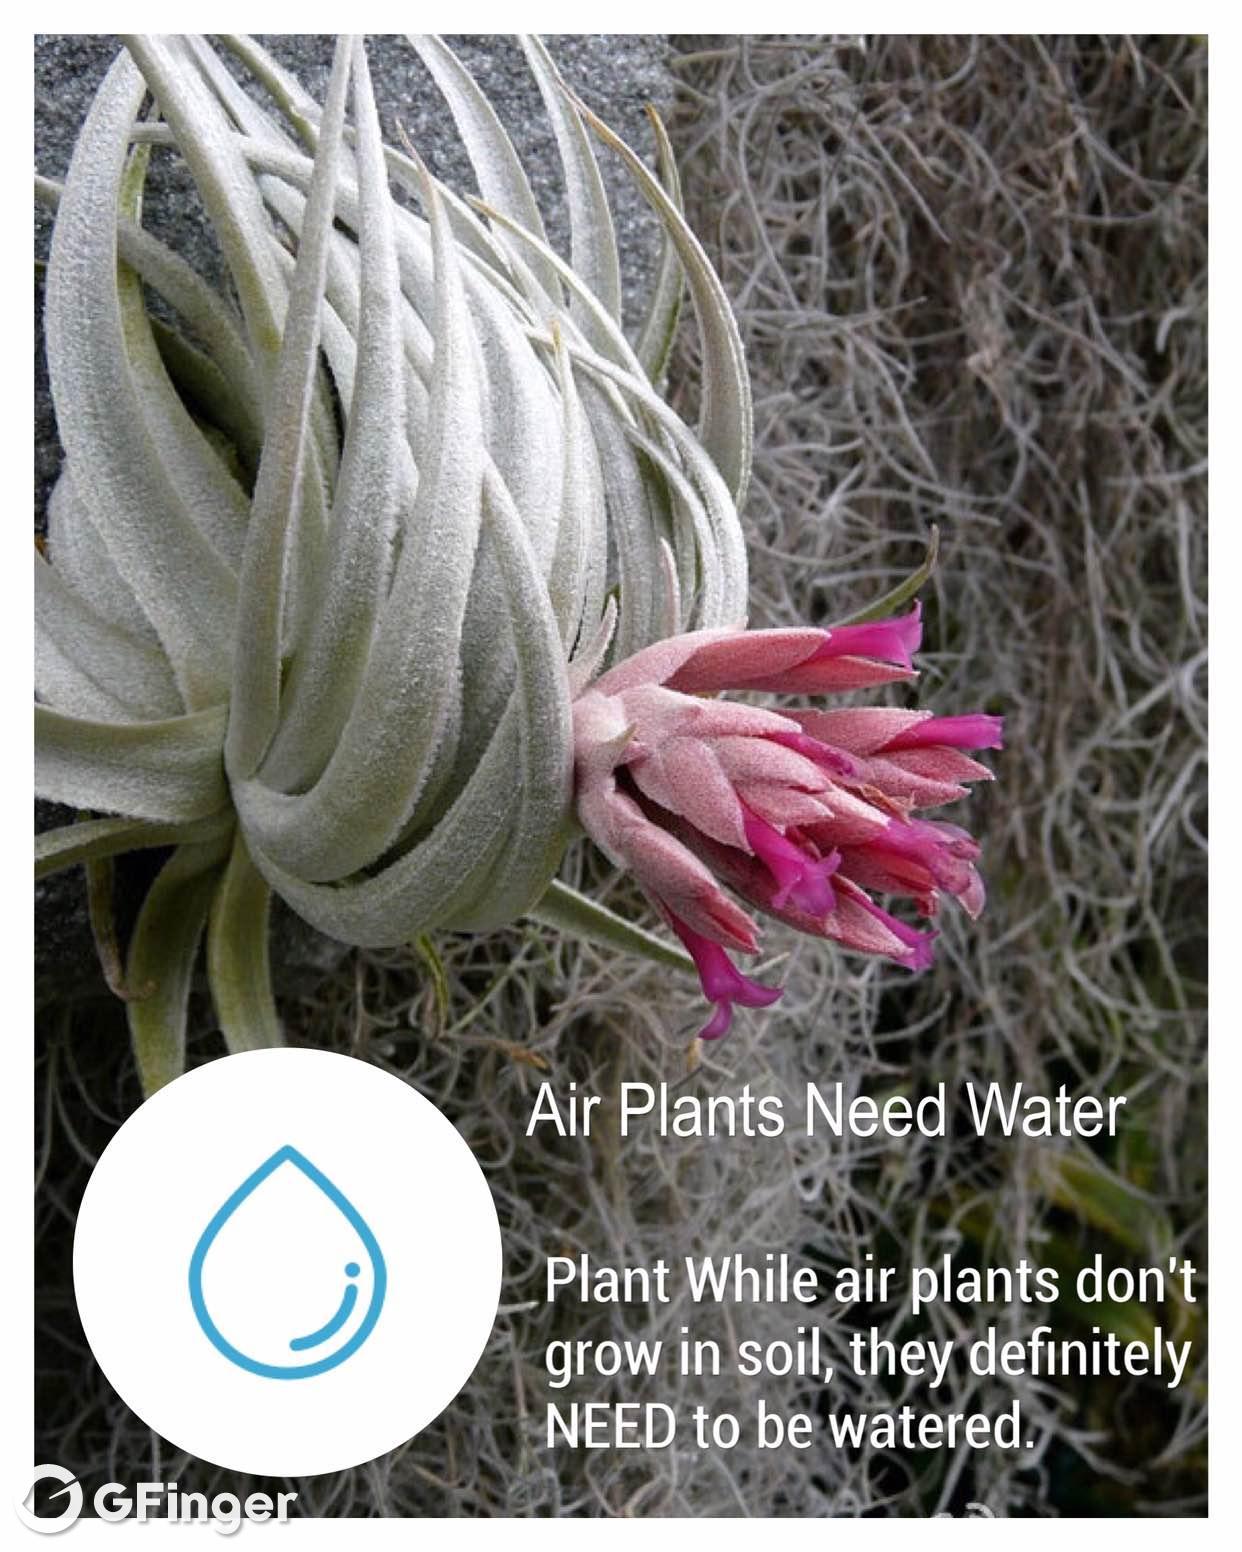
Water Air plants live on air, right? Uh, not right! While air plants don't grow in soil, they definitely NEED to be watered. While the plants can survive for long periods of drought, they will not grow or thrive and will eventually die off if water is too scarce. Follow the directions below for watering your plants on a regular basis and they will stay alive and well for quite some time. The good news is that since these plants are very forgiving, you shouldn't stress over their care schedule. There's certainly no need to get a babysitter when you go on vacation. How do I water my air plants? As a main method of watering your plants, we recommend giving them a thorough rinsing under running water or letting them soak in a bath of water for 20-30 minutes. You can use a bowl, the sink or even the bathtub if you've got a family. After their shower or bath, gently shake the plants to remove any excess water from the base and the leaves, and set out to dry in an area with enough air circulation to dry them out in about 4 hours. If your plants need an in-between watering, misting them with a spray bottle is a great method. A plant in bloom should be rinsed rather than submerged in water, and take care when rinsing the delicate flowers. How Often do I water my air plants? Your plants should be watered once per week, and 2-3 times is recommended for optimal care. A longer, 2-hour soak is recommended every 2-3 weeks. If you are in a drier, hotter climate, more frequent watering or misting will be needed. You'll begin to notice that after watering, your plant's leaves will feel stiffer and full of water and they'll be softer and lighter in color when they're in need of water. Wrinkled or rolled leaves can be a sign of dehydration.
Temperature Air plants will do best in generally warm conditions (a good range is 50-90 degrees).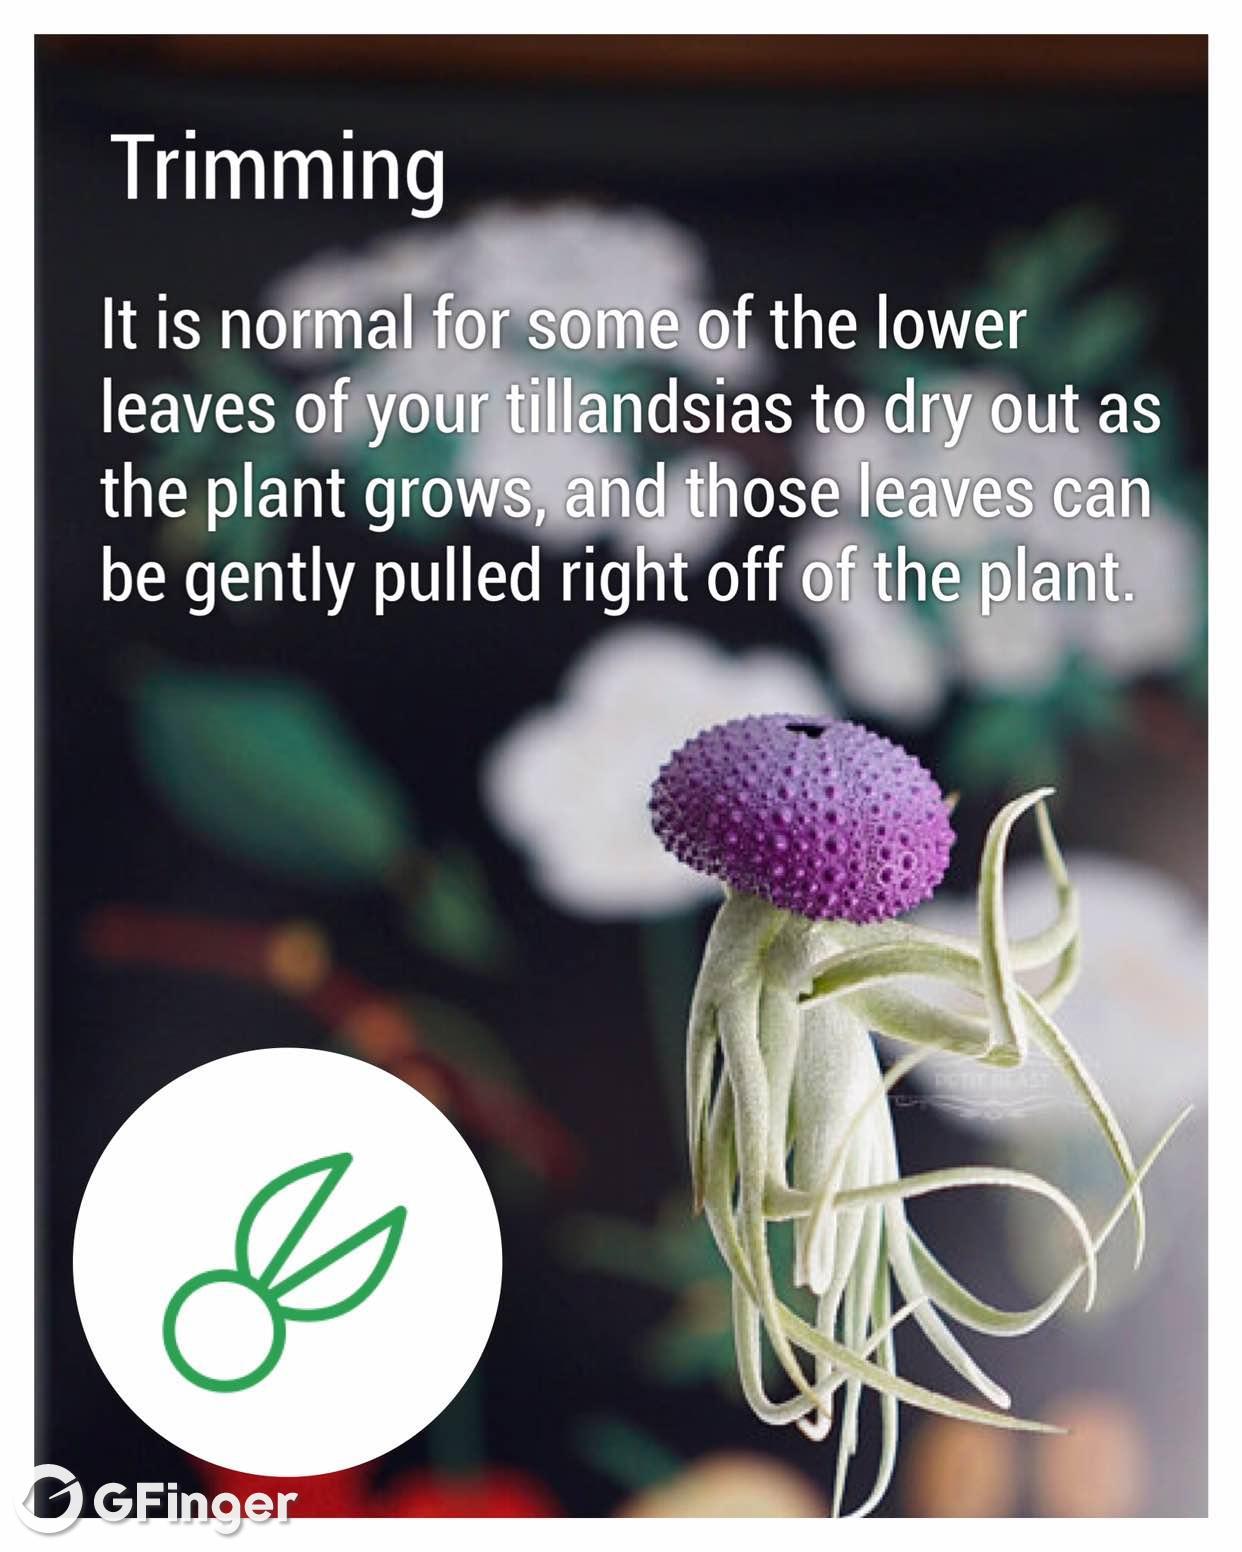
Grooming & Aesthetic Maintenance Everyone needs a little grooming once in a while! It is normal for some of the lower leaves of your tillandsias to dry out as the plant grows or acclimates to a new environment, and those leaves can be gently pulled right off of the plant. If the leaf tips have dried out, you can snip the dried tip off (try trimming at an angle to leave a natural-looking pointy tip), and the same can be done for the plant's roots. Don't worry about harming your plants during grooming--they'll regrow.
Fertilizer Fertilizing your plants is not necessary, but will keep them in top shape and should promote blooming and reproduction. We recommend using Fertilizer once per month. Other water-soluble fertilizers can be used at 1/4 strength (Rapid Grow, Miracle-Grow, houseplant fertilizer, etc.) if Bromeliad fertilizer is not available.
文章

