


文章
Martha
2017年02月17日

Learn how to grow #peanuts in this article. Growing Peanuts in containers is fun as well as easy to do and somewhat similar to #potatoes .
Difficulty— Easy
Other Names— Arachis hypogaea (Scientific Name), Groundnut
Soil pH— 6 – 6.5
Peanut (Arachis hypogaea) is an annual plant belonging to the Fabaceae family, a legume. It is a hardy plant that requires minimal attention. Peanut, which is also called groundnut contains many trace elements like copper, zinc, manganese and vitamin B and is very nutritious.
How to Grow Peanuts in ContainersPropagation and Planting Peanuts in containers
Fill the seed tray or container with potting soil or potting mix. Sow seeds at the depth of 3 cm. Cover them up with a thin layer of soil. Also note that peanut seeds you obtain for sowing must remain in their shell and you should open them just before planting.
For proper germination and maximum yield, temperature must be above 70 F (21 ° C), 80 F is optimum. After a week or two, the seeds will germinate.
Let the seedlings grow a bit and replant them in individual pots.

If you’re growing peanuts in cooler zone you should remember that peanuts require at least 100 frost free days to mature. You’ll need to start the seeds indoors, earlier, at least 30 days before the final frost date in the spring.
Choosing Containers
Peanut develops its pod from 5 to 10 cm under the ground. So select pot at least 30 cm deep and 40 – 50 cm. wide (1 feet deep and 1 – 2 feet wide). Make sure the pots have sufficient drainage holes. You can grow 2 – 3 plants in such a pot.
Requirements for Growing Peanuts in ContainersPosition
Peanut is a tropical plant, it loves to grow in slightly humid and warm conditions. When growing peanuts in containers place them in the sunniest but less windy spot of your balcony or terrace. The plant does not survive below 32 F (0 ° C). It flowers and fruits at a temperature between 70 – 95 F (20 to 35 ° C).
Soil
For growing peanuts in containers fertile and light soil is required, which is neutral in pH and well-drained. Best to buy a good quality organic potting mix or make your own.
Watering
When growing peanuts in pots, keep the soil slightly moist. During early growth and flowering period, increase watering. However, the plant tolerates short dry periods.

Peanut Plant CareEarthing up
The base of the peanut plant should be covered with soil to increase production. Once the plant reaches 10 inches of height earthen up the soil around the base, as is the case of potatoes, so as to favor the development of the pods.
Fertilizer
Initially it will not need any type of fertilization, but when you see the first yellow flowers forming, it is then useful to help the plant with the organic fertilizer that is rich in phosphorus and potassium as peanuts are legumes and form their own nitrogen you don’t need to fertilize them with additional nitrogen fertilizer.
Pests and Diseases
The most common diseases in addition to molds and fungi are leaf spots. In pests it is attacked by aphids, potato leafhopper and spider mites.
Harvesting PeanutsWhen and How to Harvest Peanuts?
Difficulty— Easy
Other Names— Arachis hypogaea (Scientific Name), Groundnut
Soil pH— 6 – 6.5
Peanut (Arachis hypogaea) is an annual plant belonging to the Fabaceae family, a legume. It is a hardy plant that requires minimal attention. Peanut, which is also called groundnut contains many trace elements like copper, zinc, manganese and vitamin B and is very nutritious.
How to Grow Peanuts in ContainersPropagation and Planting Peanuts in containers
Fill the seed tray or container with potting soil or potting mix. Sow seeds at the depth of 3 cm. Cover them up with a thin layer of soil. Also note that peanut seeds you obtain for sowing must remain in their shell and you should open them just before planting.
For proper germination and maximum yield, temperature must be above 70 F (21 ° C), 80 F is optimum. After a week or two, the seeds will germinate.
Let the seedlings grow a bit and replant them in individual pots.
If you’re growing peanuts in cooler zone you should remember that peanuts require at least 100 frost free days to mature. You’ll need to start the seeds indoors, earlier, at least 30 days before the final frost date in the spring.
Choosing Containers
Peanut develops its pod from 5 to 10 cm under the ground. So select pot at least 30 cm deep and 40 – 50 cm. wide (1 feet deep and 1 – 2 feet wide). Make sure the pots have sufficient drainage holes. You can grow 2 – 3 plants in such a pot.
Requirements for Growing Peanuts in ContainersPosition
Peanut is a tropical plant, it loves to grow in slightly humid and warm conditions. When growing peanuts in containers place them in the sunniest but less windy spot of your balcony or terrace. The plant does not survive below 32 F (0 ° C). It flowers and fruits at a temperature between 70 – 95 F (20 to 35 ° C).
Soil
For growing peanuts in containers fertile and light soil is required, which is neutral in pH and well-drained. Best to buy a good quality organic potting mix or make your own.
Watering
When growing peanuts in pots, keep the soil slightly moist. During early growth and flowering period, increase watering. However, the plant tolerates short dry periods.
Peanut Plant CareEarthing up
The base of the peanut plant should be covered with soil to increase production. Once the plant reaches 10 inches of height earthen up the soil around the base, as is the case of potatoes, so as to favor the development of the pods.
Fertilizer
Initially it will not need any type of fertilization, but when you see the first yellow flowers forming, it is then useful to help the plant with the organic fertilizer that is rich in phosphorus and potassium as peanuts are legumes and form their own nitrogen you don’t need to fertilize them with additional nitrogen fertilizer.
Pests and Diseases
The most common diseases in addition to molds and fungi are leaf spots. In pests it is attacked by aphids, potato leafhopper and spider mites.
Harvesting PeanutsWhen and How to Harvest Peanuts?
0
1


文章
Eyin Thor
2017年02月15日

To have a productive garden, healthy soil is essential and if you want to improve your garden soil here we’ve 6 Most Important Tips.6 Ways to Get Super Soil
1. Look out for the color of your garden soil
A pitch-dark soil is best. As a general rule of thumb– Darker soil has more organic content as the substances resulting from decomposition of the organic matter are oxidized and acquire a dark coloration. Here’s an informative article that’ll teach you more about soil color and its effects on plants.
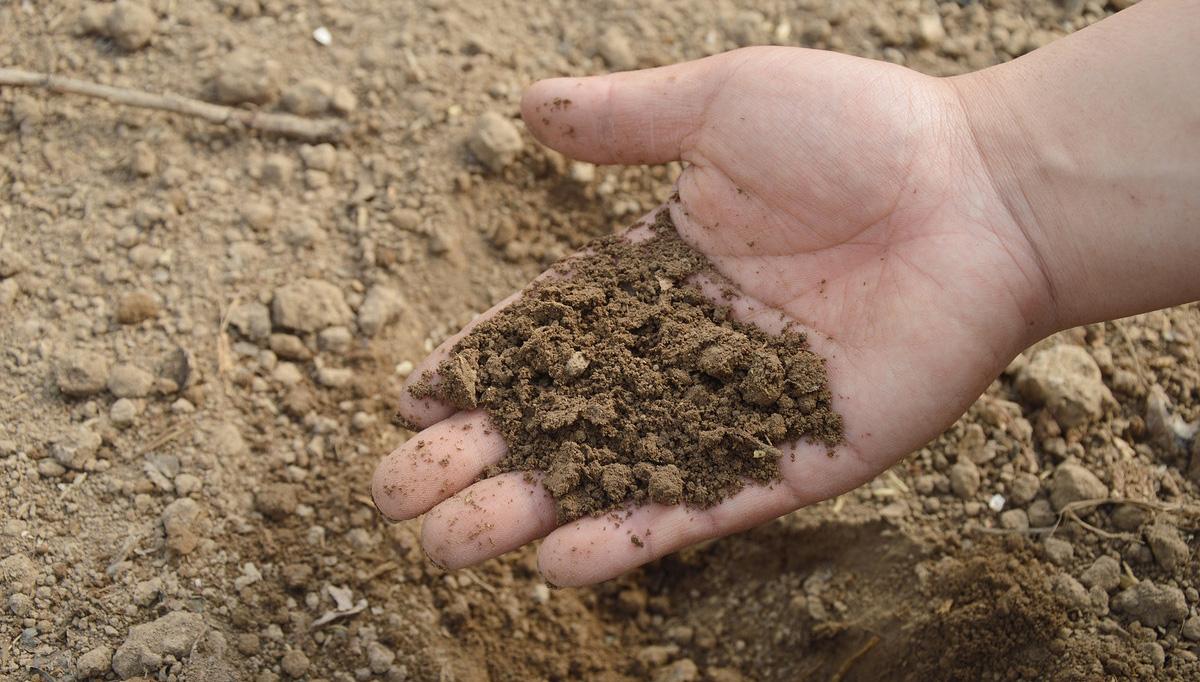
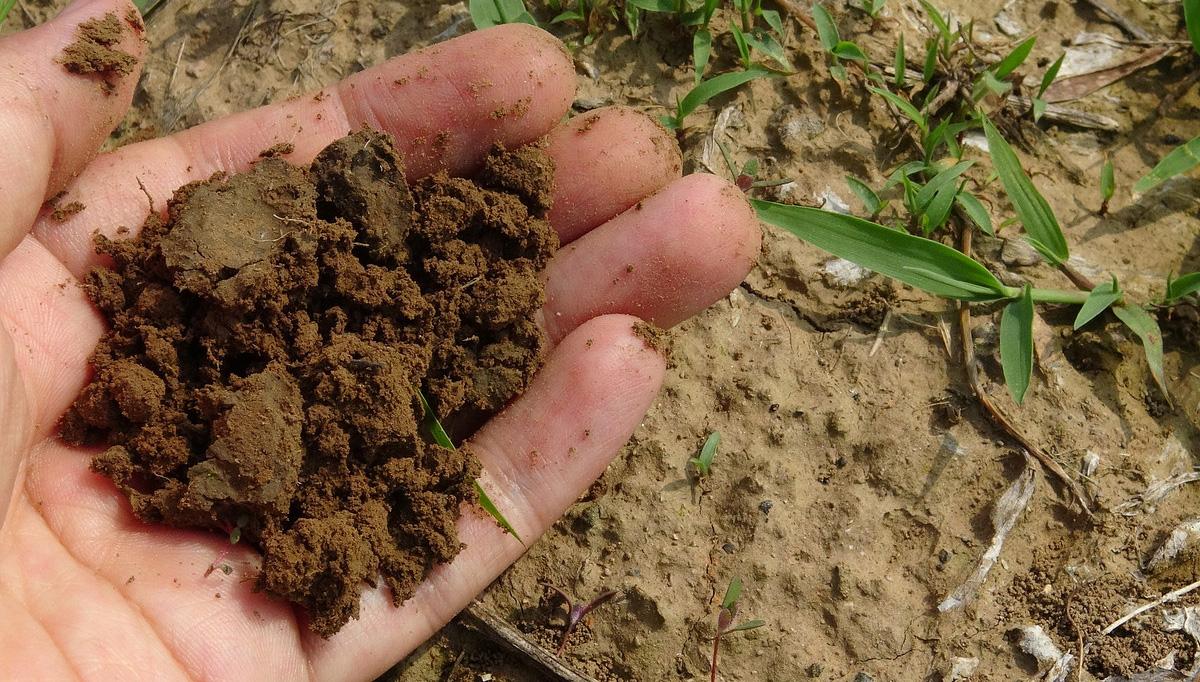
2. Soil texture is also important
Identifying the texture of the garden soil is important too. The best garden soil is loamy in texture. It is neither too porous and nor too compact. The soil must be crumbly, airy, and light. To determine the texture, it is important that you feel it For this, take a handful of soil and drop enough water on it and form a ball. When you press it, it will fall apart quickly (if it is sandy) and you will feel the grit rub. A silt will form a ball, but when you try to roll it out into a ribbon it will crack. A clay soil will roll out into a long ribbon.
However, if the texture of your soil is ideal you’ll be able to form the ball easily and when you press, it will break and fall apart gradually.
3. Notice the depth of your soil
The depth of the soil is as important as the texture and color of the soil. Go to the planting site and dig it with the help of a shovel. If you can dig at least 10-12 inches down (the more the better) without touching the hard layers of earth, it would be better. It is required for the healthy growth of plants as roots penetrate deeply. If the depth of your soil is not sufficient you’ll need to make it deeper.
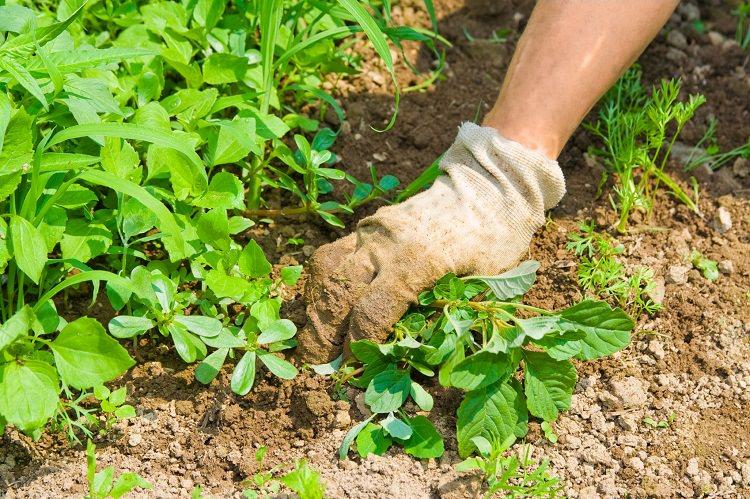
4. Weed out the weeds
Look out for the existing vegetation at the planting site. If there are unwanted plants (which we call weeds) remove them. The population of weeds will also determine how healthy your soil is. You may need to improve the soil more if even the weeds are unable to thrive at your neglected planting site. Read these weeding tips for help.
5. Don’t avoid the soil testing
For the backyard gardeners, this step is essential to follow– Not only you’ll find out whether your soil is acidic, alkaline or neutral but also the different trace elements and minerals. The test also informs you about the contamination of soil.
Contact your local extension office for soil testing. Unlike many soil testing labs the extension office of your county will do this for free (or at low cost). You can also purchase a test kit that allows you to determine the soil composition. However, this may be costly and you’ll not get plenty of details. Once you find out the pH level and all the details of your soil you can easily balance it to grow your favorite plants.
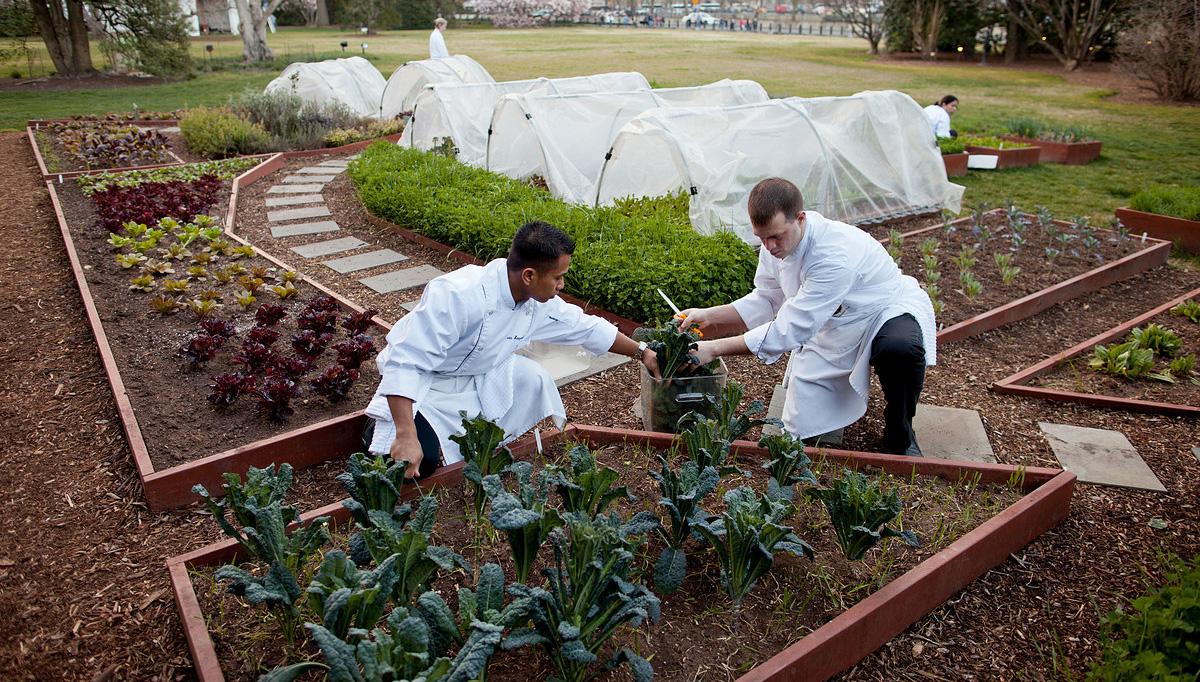
6. Add Organic matter
Adding the organic matter always help and you should add well-rotted manure and compost regularly as it adds nutrients to soil naturally and also provides food for microorganisms that live in the soil. The addition of organic matter also improves the texture of the soil.
1. Look out for the color of your garden soil
A pitch-dark soil is best. As a general rule of thumb– Darker soil has more organic content as the substances resulting from decomposition of the organic matter are oxidized and acquire a dark coloration. Here’s an informative article that’ll teach you more about soil color and its effects on plants.
2. Soil texture is also important
Identifying the texture of the garden soil is important too. The best garden soil is loamy in texture. It is neither too porous and nor too compact. The soil must be crumbly, airy, and light. To determine the texture, it is important that you feel it For this, take a handful of soil and drop enough water on it and form a ball. When you press it, it will fall apart quickly (if it is sandy) and you will feel the grit rub. A silt will form a ball, but when you try to roll it out into a ribbon it will crack. A clay soil will roll out into a long ribbon.
However, if the texture of your soil is ideal you’ll be able to form the ball easily and when you press, it will break and fall apart gradually.
3. Notice the depth of your soil
The depth of the soil is as important as the texture and color of the soil. Go to the planting site and dig it with the help of a shovel. If you can dig at least 10-12 inches down (the more the better) without touching the hard layers of earth, it would be better. It is required for the healthy growth of plants as roots penetrate deeply. If the depth of your soil is not sufficient you’ll need to make it deeper.
4. Weed out the weeds
Look out for the existing vegetation at the planting site. If there are unwanted plants (which we call weeds) remove them. The population of weeds will also determine how healthy your soil is. You may need to improve the soil more if even the weeds are unable to thrive at your neglected planting site. Read these weeding tips for help.
5. Don’t avoid the soil testing
For the backyard gardeners, this step is essential to follow– Not only you’ll find out whether your soil is acidic, alkaline or neutral but also the different trace elements and minerals. The test also informs you about the contamination of soil.
Contact your local extension office for soil testing. Unlike many soil testing labs the extension office of your county will do this for free (or at low cost). You can also purchase a test kit that allows you to determine the soil composition. However, this may be costly and you’ll not get plenty of details. Once you find out the pH level and all the details of your soil you can easily balance it to grow your favorite plants.
6. Add Organic matter
Adding the organic matter always help and you should add well-rotted manure and compost regularly as it adds nutrients to soil naturally and also provides food for microorganisms that live in the soil. The addition of organic matter also improves the texture of the soil.
4
0


